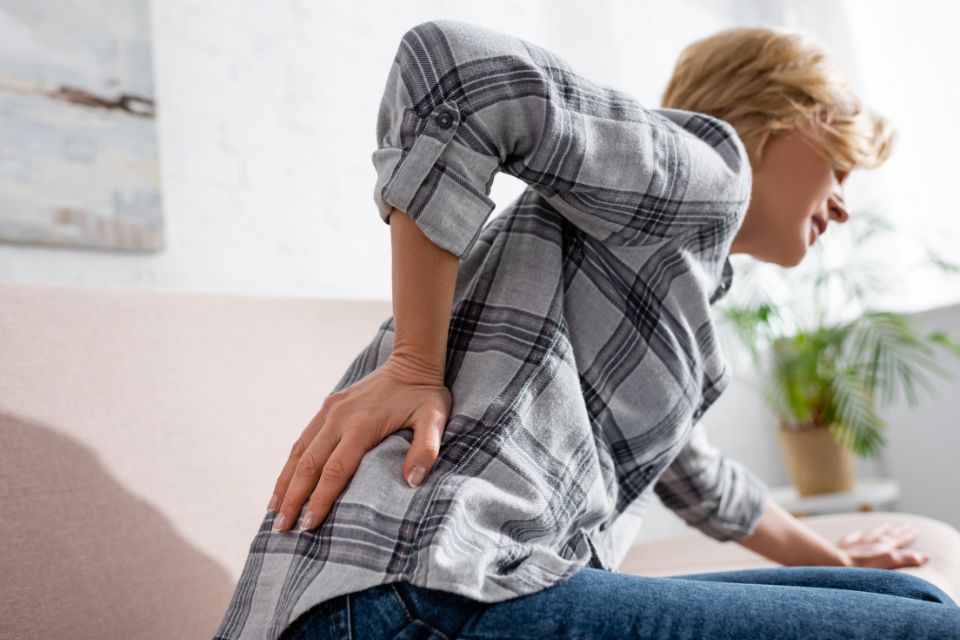
 Today, we will look at ways to release tension around the sciatic nerve, which radiates a very annoying pain, often down the lateral part of the leg, even into the foot and toes.
We do not know whether the pressure on the nerve is coming from the hip, around the piriformis muscles, or if it is being pinched in the lumbar spine. So, we must address both simultaneously. In this article, I will share two shapes that can help relieve sciatic pain.
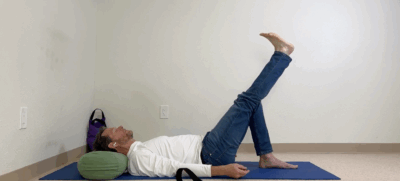
Shape 1: Supported Pelvic Lift
You will need a wall for this movement.
- Scoot in very close to the wall.
- Roll back, put your legs up.
- Bend the knees, lift the hips, and place a bolster or rolled blanket to elevate the pelvis.
- Support only the pelvis. This allows the lower back to release and move like a hammock toward the floor.
This alone can help relieve sciatic sensation. Take a moment to pause here, relax, and feel the belly hollowing out and moving toward the floor. Deep relaxation is good.
Next Step:
- Bring the right knee toward the right shoulder.
- Interlock your fingers over the knee and slowly sink the knee toward the right shoulder.
- Respect the limitations and don’t force anything. Give your tissues and bones time to respond.
This movement brings mobility to the hip. If there is tension in the rotator or piriformis muscles, this will help release those muscles. It also helps open up the lumbar spine, allowing some freedom and space around the nerve roots.
Maintain for one to two minutes, then release and repeat on the second side.
The idea is to use the legs as leverage to open the lower back while improving hip flexion and the freedom around the hip joint.
Remember, you are not really aiming for a stretch; you are going for a release. The recommended time is one to two minutes, but if it feels soothing, you can stay a little longer—trust your intuition.
When the time is right, release your leg onto the wall and pause momentarily. Rest deeply.
Adjust the bolster for proper support and comfort. If you tend to slide away, you may need to start over and get closer to the wall. A sticky mat or non-slip surface will help keep you in place. That is hip flexion.
Shape 2: Figure-Four shape
Let’s add some rotational movement to the hip with the figure-four shape.
- Put your right ankle on your left thigh, close to the knee.
- Bend the left knee, sliding the foot down the wall.
Now, you are looking for a release in the right hip, you may feel a stretchy sensation there.
Again, the lower back is being encouraged to relax and move toward the floor with minimal effort. You don’t have to look for sensation—just let the right hip release and allow the lower back to move.
For added stability:
- Press the left foot slightly into the wall to gently encourage the lower back toward the floor.
- Keep the pelvis balanced on the bolster.
- With each exhale, sink the belly toward the floor a little.
All of this is encouraging the release of the lower back and releasing any potentially impinged nerve roots in that area.
This is healing sensation! Stay with and avoid going for a big stretch.
Spend one to two minutes or even three minutes here.
- Slide the left foot up the wall, pause, and release the right foot onto the wall.
Repeat on the Second side.
- Bend the left knee and cross the left foot over the right thigh near the knee.
- Bend the right knee.
- Let the lower back sink down.
If you feel restriction in the left hip, pause and let it resolve.
Press into the right foot just enough to keep the pelvis balanced and supported by the bolster. This allows the belly to relax and encourages the lower back to release.
Move slowly, spending one to two minutes in each shape. It should feel soothing and comfortable.
When the time is right, slide the right foot back up the wall, release the left foot onto the wall, and pause for a moment.
Finishing the Practice
- Relax and let the passive qualities of the shape work for you.
- When time is right, bend both knees.
- Hollow the belly and press the feet into the floor.
- Move the sit bones toward the ceiling, encouraging the lower back to release.
- Remove the bolster and maintain the shape for a moment.
- Place your palms down and keep the throat open.
- Press into the wall to build a little connection through your structure into the upper back.
Slowly lower back down, one vertebra at a time.
- Keep drawing the pubic bone toward your nose.
- Continue moving the sit bones toward the ceiling.
- Lower slowly, focusing on moving through each lumbar vertebra.
As you lower toward the floor, you want to differentiate movement through each lumbar spine. The lower you go, the slower you go.
Perfection is not required. You are asking this very rigid part of the body to move a little bit. Once the tailbone is down, extend the legs back up and rest again.
You may need to inch back a little at this point, but let’s rest here.
Take a moment to feel the sacrum resting on the floor and the lower back and kidney relaxing onto it.
After a moment of rest;
- Bend the knees.
- Roll onto one side.
- Push yourself up to a seated position.
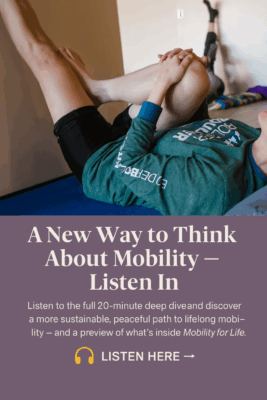
For visual guidance of the movements, watch this video.
Conclusion
These two simple shapes and the movements done when coming out of the shape can be incredibly effective in relieving sciatic pain.
There is so much more to this practice, and there are more shapes that can help relieve sciatic pain. Discover a short series of Avita yoga classes designed specifically for sciatic pain relief. Start your journey to pain-free movement today!