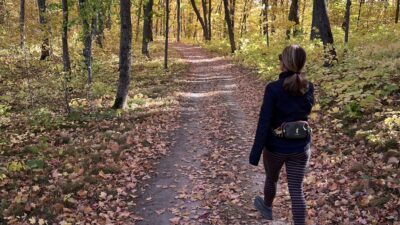
 Some say it’s the ability to touch the toes. Others say it’s a backbend. I say NO to both of those. After 45 years in the world of yoga, I have found one shape to be the best barometer of overall health: the squat. We have lost the ability to squat, and in this article, I will tell you why it is such a good barometer of overall health, how it serves as a key indicator, and how you can regain your squat. But first, let me tell you a couple of things that do not work.
The Problem with Traditional Squats
We have all heard of squats as a strength training activity.
You hold some weight, bend the knees and lower the hips toward the ground while keeping the chest up and the back straight, sometimes adding weight with your hands or shoulders, then return to standing. However, you are not paying attention to any of the restrictions, and generally avoid them when moving up and down repetitively. In other words, you tend to “work out” in your compensation patterns.
Suppose there is a knee restriction or a restriction in the lower back, especially when you add weight. In that case, you will compensate to avoid the limitation and pain to accomplish the squat, with the idea that strengthening will be the key to your health. However, strength training is not the key to a fully functioning body.
The squat addresses the knees, ankles, hips, and lower back. That’s why it is such a good indicator. Wouldn’t it be nice to have all those joints and regions of the body working to their fullest ability for the rest of your life? That’s what Avita Yoga is all about. Simply strengthening and stretching the muscles misses the point.
Starting from the Bottom Up
You must have ankle mobility. When you lower into a squat, what happens? Your ankles must fully dorsiflex, your knees must fully flex or bend. Your hips must fully flex, and the lower back must flex. To drop into a squat, you need full flexion of the ankles, hips, knees, and lower back. That is what this is all about.
Now, if you want to blame something for why you lost the ability to squat, you can blame chairs, seats in general, and maybe one of our most convenient things: the toilet.
There is nothing more natural than relieving yourself in a squat. In a way, every time we sit on a toilet, we limit the ability to flex our knees and hips more fully. This is how limitations, compensation patterns, and arthritis begin and are eventually maintained.
However, you don’t need to eliminate any of these things; you can do movements and shapes to regain your squat.
Working on the Feet
We are going to start from the feet up. To work on the feet, you need to look at them. I encourage you to create a little space to have your legs up the wall.
To get up on the wall:
- Scoot close to the wall, with your right hip almost touching it.
- Roll back and put your legs up at the same time.
- Use a bolster or any firm cushion to support your head.
- Give yourself enough space from the wall to have your knees straight.
This shape requires knee extension. This alone, even for some of the most athletic and youthful people, can be challenging because it requires a passive release in the knees, hips, and lower back. For some, this is a significant challenge in itself. Using an ottoman, chair, or something to support your lower legs as you begin is good.
With time, you will be able to have your legs up on the wall with minimal effort, gaining many physiological benefits.
Now, focus on one foot at a time to give the brain and the nervous system one thing to work with.
- Center the right heel on the wall and play with flexing. Can you bring all five toes toward you?
- Extend the knee, because knee extension will always help with flexion. You are dorsiflexing the foot.
- Observe where restriction is and where release tends to happen
Working with a Strap
Next, use a strap, scarf, or belt around the ball of your left foot.
- Keep the back of the heel centered on the wall.
- Keep the knees straight.
- Toes toward your face
- The arms are straight and relaxed.
- Flex the ankle joint, relax the arms and shoulders.
- Pause for a moment.
Feel the work in the shin muscles and the calf, heel, and Achilles tendon release. All of that has to release to have a good, healthy squat. A healthy squat means you have ankle mobility.
- Spend one and a half to 2 minutes here.
- Then, switch to the right foot; it’s the same story. Place the strap over the ball of the foot– the big toe base and the little toe base.
- Center the heel.
- Extend the knee by activating your quadriceps.
- Bring the foot and toes toward you.
Do not pull on the strap; use the weight of your arms to do the work. This benefits the hands as it teaches you to relax the shoulders. The knee is straightening.
- Spend one and a half to two minutes there.
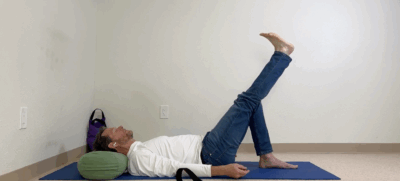
Working on the Knees
When you squat, you need full knee flexion. Try this movement:
- Interlock your fingers over your left knee and bring it toward your left shoulder.
- Close your eyes and resonate with the feedback from your feet.
Aligning the Hips and Ankles
- Make a subtle effort to line up your left heel with your left hip and shoulder. Play a little bit with that, because most of the time, the foot will be in and the knee will be out, indicating hip restriction. Make a subtle effort to line the heel and sit bone, knee, hip, and shoulder.
- Remain in the shape for one and a half to 2 minutes.
- Repeat on the right side.
Feel into the restriction. Don’t evaluate, judge, or worry about it, just spend time with it. Your body will dissolve the restrictions once you hold them to the light of your awareness. You have all the physiology within you to make these changes. Healthy movement, healthy joints, and strong bones will be the result.
- When finished, have a deep rest with both legs up the wall.
Have a moment here. Pause. Have a little gratitude that you have a way to make a profound and substantial change in the bones, joints, and nervous system. Your muscles will follow along automatically.
- Bend the knees
- Roll onto one side and push yourself up.
All Fours
Go to all fours. The heels, knees, feet, and hips all lined up.
- Center the back of the heel toward the ceiling. Rotating the heels out and in is indicative of a hip restriction. You’ll feel that.
- Slowly sink back
- Keep the heels centered toward the ceiling.
Now, you are moving toward a squat in a much more doable way, in a much more helpful relationship with gravity. As you sink back, can you see how this looks and functions like a squat? But you are in control of the gravity, the pace, and the rhythm. You are not fighting anything or overworking.
All you are doing is keeping your heels centered toward the ceiling and sinking back.
If you feel restriction, pain, or arthritis in the knee, now is the time to work with it. Healing sensations, patience, and peaceful thoughts help reorganize your bones, joints, and nervous system.
With time, you will be able to sink your sit bones to your heels while keeping your heels centered toward the ceiling. This is very important—don’t rush the process by turning your heels out to get there faster. Take your time and allow the restriction in your hips to dissolve.
When you find a restrictive sensation, spend one to 2 minutes with it. Then, come out of the shape.
There are restrictions, pain, and arthritis, we are going to clean all of that up on our way to a healthy squat.
Sukhasana Shape
This is another shape that will help you move toward a healthy squat.
How to practice:
- Place your right leg in front, with the left shin parallel to the wall in front of you.
- Position your left foot under your right knee.
- Gently curve forward.
Resting against the wall, your knees may be higher, but it does not matter. You allow yourself to curve forward, gravity to have your knees and legs, and the lower back to curve. You can even reach back and feel your lumbar vertebrae. Do you feel them poking into your fingers?
You know you have some work to do if you feel deep inside a ditch between the two lateral erector spinae muscles. It will take time and practice to develop the ability to get them to flex and bend.
- Continue curving forward
- Let your head relax.
- Let your shoulders relax.
Stay in the shape for some time. You can lean against the wall or sit on a bolster for support.
When the time is right, raise back up and switch the cross of your legs:
- Place your left leg in front, with the right foot under the left knee.
- Curve forward again.
This healing time in the shape, dissolving restrictions and opening up possibilities for healthy movement.
These are the yoga shapes that bring significant changes in the body parts that need freedom to have a healthy squat.
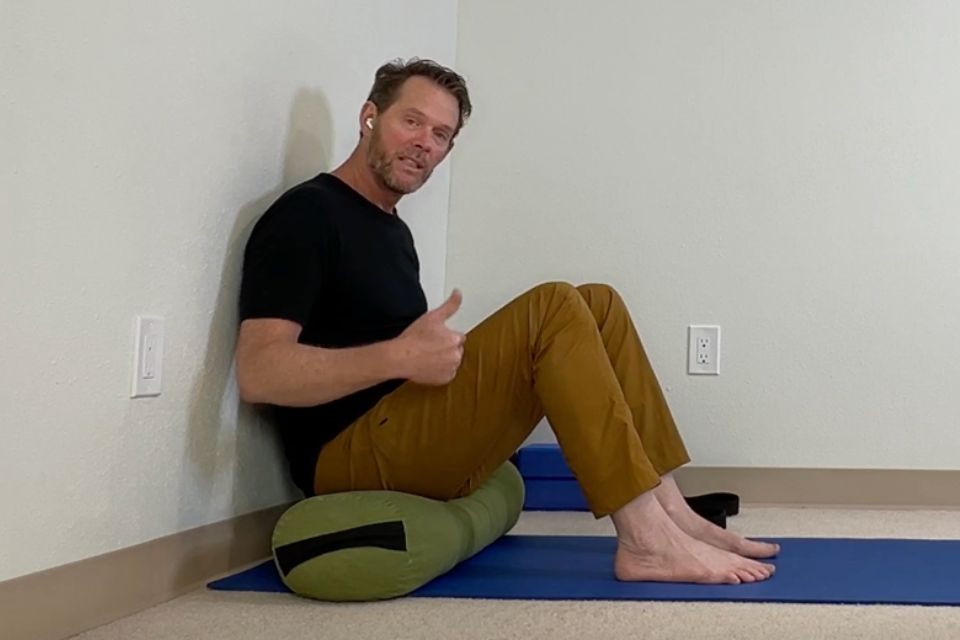
Moving Into the Squat
How to practice:
- Place the bolster against the wall and sit on it.
- Bring your heels in close while remaining seated on the bolster.
- Let the wall support you.
- Bend your knees, keeping your feet on the floor.
You have some elevation which makes the squat a little more doable.
Then you test:
- Bring your heels in a little closer, can they move in more?
- Support the back with the wall.
- Curve from your lower back.
- Hug your knees.
You can hold onto your knees, press into your feet a little bit, encouraging flexion in the lower back.
Some of you might be able to bring your feet a little closer. With time and practice, you can bring them in closer and eventually wrap your arms around your knees and feet pointing straight ahead.
Long-Term Practice
You can do this practice three to four times a week for one and a half to two years. Everything starts to change; your knees and hips will get healthier.
- Relax Into the Shape.
- Spend time in this shape and keep coming back to it.
You’ve got the bolster supporting you; you are passive. That helps your nervous system relax. Sink into the possibility of the shape; it does not really matter if you ever developed the ability to have the shape actively.
It is a lot of work in the shin muscles to squat without support, so let’s first get it passively by relaxing in the shape, that’s everything.
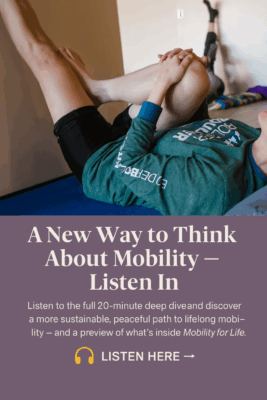
For visual guidance on these shapes and more, watch this video.
Conclusion
Getting your squat back is about restoring natural movement and improving joint mobility. By consistently practicing these yoga squat shapes, you can release restrictions in your ankles, knees, hips, and lower back, making everyday movements feel more natural and comfortable.