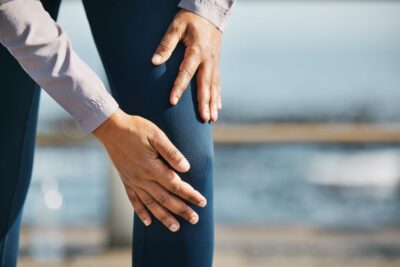
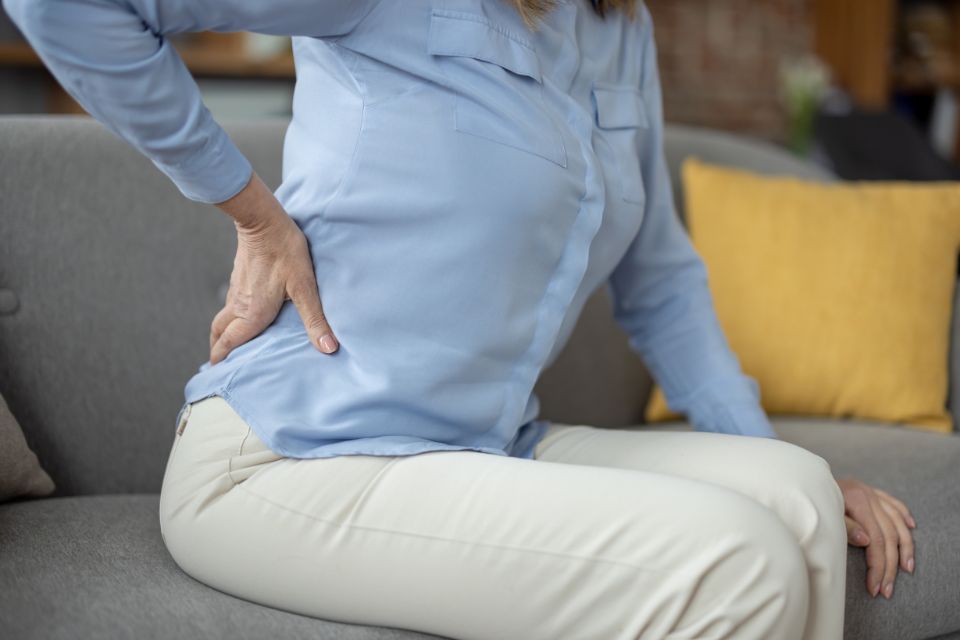
 Hip and lower back pain are common issues that many people experience and can be caused by many different things, including arthritis, muscle imbalance, strains, sprains, and alignment issues. These discomforts can disrupt daily life, but Avita Yoga offers a gentle and restorative way to alleviate them by mobilizing the hips, releasing lower back tension, and promoting overall balance in the body. With regular practice, Avita Yoga for hip and lower back pain can help improve mobility, relieve discomfort, and restore ease of movement.
Today, I’m excited to share simple yoga shapes you can practice at home to relieve hip and lower back pain effectively. The hips and lower back are deeply interconnected—movement in one often inspires movement in the other. However, stiffness in either area can affect the other, making it essential to address both simultaneously. You might have experienced that feeling, an odd sensation or discomfort in your hip or lower back that doesn’t show up on an X-ray or MRI but is undeniably painful. I’ll teach you how to use that very sensation to guide you toward the root of the problem. Why does this work? Because the sensations you feel help pinpoint the issue, allowing us to address and resolve it directly with healing compression.
1. Baddha Konasana (Upright Against the Wall)
This shape is going to target your hip and lower back pain at the same time. We must find the restriction and dissolve it because where there is movement, there is health. You’ll need some wall space to get started—just the width of a yoga mat. It might be hard to find in your house, but even a door can work! Close the door, place your mat against it, and you’re all set. It’s a minor adjustment that can make a big difference in your practice.
How to Practice:
- Sit on the floor a few inches from the wall.
- Bring the soles of your feet together and your knees wide.
- Keep your heels two hand-widths away from your pelvis to make a squarish shape with your legs. Don’t bring the heels in close to you.
- Rest your hands on your knees or thighs, and relax into the shape. If you feel the sensation of tightness or arthritis, it means you are on track. Pain is one thing. Healing sensation is another.
Ease Your Practice with a Bolster or Cushion:
If the position is challenging on the floor, consider using a bolster or a firm cushion for support.
- Place your bolster a few inches away from the wall, sit on it with your sit bones in the middle of it, and then rest back against the wall.
- Soles of the feet together, the heels are about two hand widths away, making the squarish shape with your legs. Observe the shape. If sensation is adequate, there’s little need to curve forward. We don’t want to skip steps.
- Curve forward slowly and use your hands for support. Let the spine curve and observe the sensation in the hips.
- Maintain the shape for 1.5 to 2 minutes. We need this time for the tissues and nervous system to change and adapt to the movement.
Listen to Your Body: The Key to Progress
Take some time to focus on the shape and the feedback it offers. Notice, observe, and reflect on how the shape communicates with you. It might reveal something you’re hesitant to acknowledge, but the choice is yours: Will you commit to revisiting this shape three or four times a week, or even once a day, to bring greater mobility to this part of your body? You may be surprised by the results.
Remember, the bolster is necessary for those who cannot curve forward readily. It helps you get past the tipping point, but if the sensation is adequate, it’s essential to rest against the wall and give your body time to change. We are not performing…we are healing. Practicing directly on the floor is a nice variation for those who can.
- Whether on a bolster or sitting on the floor, press your feet against the floor, press your feet, and roll a little bit onto the back of the sit bones.
- Keep your torso relaxed and your arms and hands supportive.
While you will feel it through your hips, this little movement also encourages deep flexion in your lower back. You may feel some stiffness there, and that’s a good thing. The stiffness is a sign—a sensation letting you know you’re right on track. There’s no need for judgment or evaluation—you can celebrate that as part of your progress.
- Now, slowly rise up.
To see these steps in action and gain helpful tips, watch the video for detailed visual guidance.
2. Sukhasana (Upright Against the Wall)
Sit on the floor or your bolster in a cross-legged position. Move the lower leg that is closest to you forward so it is parallel to the wall in front of you. This is to enhance mobility in the hip and create a cantilever effect that encourages gentle flexion in the lower back.
How to Practice:
- Sit cross-legged with your right leg in front and your back supported by the wall.
- The left shin is parallel to the end of the mat or the wall in front of you.
- Slowly curve forward.
- Support with your hands in front of your knees and maintain for 1 to 2 minutes.
- Slowly raise back to the wall.
- Rest and relax.
- Switch the cross of the legs and place the right shin parallel to the wall in front of you.
- Slowly curve forward again.
- Support with your hands in front of your knees and maintain for 1 to 2 minutes.
- Slowly rise, rest for a moment, stand up, and walk. It may feel awkward, and you may limp a bit, but that’s okay. Walk through the limp until your walk normalizes.
To see these steps in action and gain helpful tips, watch the video for detailed visual guidance.
Conclusion
Avita yoga provides a powerful yet gentle approach to addressing hip and lower back pain, promoting mobility, releasing tension, and restoring balance to your body. By integrating these simple yet effective shapes into your routine, you can cultivate greater ease of movement and improved well-being over time. The key lies in consistency, mindfulness, and attention to your body’s signals—small, deliberate steps can lead to meaningful and lasting progress. Whether seeking relief from stiffness or aiming to enhance overall mobility, these shapes offer a pathway to comfort and resilience.
Remember, it’s not about perfection—it’s about healing and showing up for yourself. With patience and regular practice, you’ll begin to notice remarkable changes.
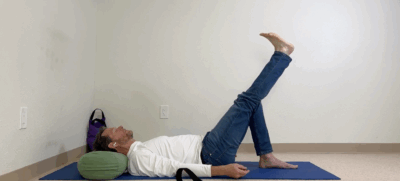
In upcoming articles, we’ll explore three additional shapes, Reclined, Legs Up The Wall, and Knee to Chest. Each of these shapes uniquely targets hip mobility and lower back relief, further enhancing youthful movement and mobility. Stay tuned to discover how these shapes can complement your routine and deepen your path to comfort and balance.
Namaste.

