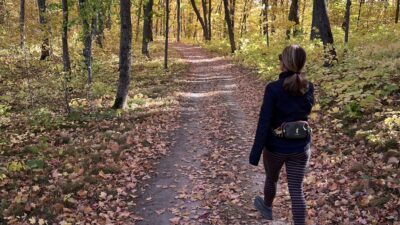
 Walking With a Limp.
Have you ever found yourself limping and wishing you had a youthful stride, the one you had in your earlier years of youth? If that’s true, this blog post is for you. It was true for me—a severe ski injury impacted my hip so much, it led to so much restriction and pain that I tried everything: stretching, strengthening, PT—I tried everything.
Doctors have told me that I have to replace my hip sometime. It was just a matter of time, but I knew there had to be a better way, and it came to me—and I am sharing my practice with you. I do it 3 to 4 times per week, systematically working through all my joints to keep them happy and healthy. The fact is, joints love pressure—they love compression—we have to give it to them kindly. In this article, I will guide you through 3 ways to resolve a limp. First, let’s examine two ways a limp is unconsciously promoted and maintained.
Why Do We Limp?
The first reason is pain. Whether in your toes or feet, your knees, or hips, we avoid the pain, which can often lead to compensation that pushes the problem into other parts of the body. Pain is the primary reason we limp, and if left unaddressed, the limp can develop into a compensation pattern.
The second reason we limp is restriction. If you are restricted in some part of the body, movement is avoided altogether, and that can manifest as a limp. Instead of moving fluidly, we move around the restriction. For example, if a hip or the knee does not flex properly, we have to carry the knee through. Your knee does not flex fully, and that puts an extra burden on the opposing hip. These, too, are patterns of compensation. To keep moving, we compensate for pain and restriction, which narrows our lives and leads to arthritis and degeneration of the limited joint movement.
So, what do we do? What is the solution? We’ve got to resolve the pain; we’ve got to unwind the restriction. Otherwise, we’re going to keep pushing the problem elsewhere in the body—and that’s what often leads to joint replacements.
So, three solutions. We will examine the three primary parts of the body that commonly experience restrictions or pain, leading to a limp.
1. Big Toe – The Foundation
The first place is our foundation: the big toe. When the big toe has arthritis, pain, or some restriction, we won’t be able to move through it as easily. If you have arthritis or stiffness in your toe, you know exactly what I am talking about.
Play with the idea for a moment. Stand up and walk with a stiff toe. Don’t let it bend as you walk. What happens? Can you feel the compensation pattern? The gait gets a little bit shorter. Your knee stops bending and flexing. The hip stops moving as fully as it could, versus letting the toe bend and pushing off the toe where you get a full flexion of the knee, you get use of the hip.
Whether it’s pain or restriction, we’ve to do yoga for it. Moving is not enough because we do it in patterns that work against us.
- Stand next to a wall with your hand on the wall to support yourself.
- Right foot, right hand on the wall.
- Then bend your knee, curl your toes under, and slowly, thoughtfully, apply a little pressure to the big toe.
How much pressure?
Just enough so that you can feel some of the restrictions—maybe a little bit of pain. There is a difference between pain that harms and sensation that heals.
The pain wants to push us out, and we move away from it. However, if we go slowly, the pain often dissipates. We befriend it and realize: oh my gosh, there is a little bit of soreness, restriction, stiffness—but I can sustain this for a while.
I went through a series of movements for the big toe in one of my YouTube videos. So, if you have a toe issue, pay attention to that entire video. There is your practice—right there for your toe alone. We have to think of the restricted or painful areas as projects, like the projects around your house. You take on the project, and you want to start resolving it.
You stay IN shape for 1.5 to 2 minutes.
Then switch to the other side—the other foot. You have the wall supporting you, so you don’t have to balance.
- Curl the left toe under the foot.
- The heel in line with your right leg, and you are putting pressure directly down into the big toe.
I know this sounds crazy. I’m asking you to move into the pain or the restriction. Everything else in the world—all the PT, all the fitness paradigms, many other yoga paradigms—suggests: strengthen and stretch, avoid the pain! Protect the joint, stabilize the muscles, and strengthen them to protect the joint.
It doesn’t work. We cannot protect our way into better health. If you slowly and methodically find your way—move your way into the problem—it will begin to resolve.
Spend 1.5 to 2 minutes, then release.
Take a little walk.
Toe Extension
- Stand with your hands on the wall, shoulder height.
- Your right foot is fairly close to the wall.
- Step back with the left foot—a typical gait stance.
Hands on the wall, shoulder height.
- Firm your thighs.
- Straighten the knees.
- Lift the left heel.
Can you feel the calf muscles engage? It’s just a slow-motion movement of a typical stride. You kind of have a freeze frame in this movement—you could be walking—and you give full extension to the big toe.
- The calf muscle gets a little exercise.
- The knee extends.
- You are long and open through your spine.
- Eyes open, gaze straight ahead.
After 1.5 to 2 minutes in the shape, release the foot down and switch sides.
Left foot forward, right foot back. Pause a moment.
- Let the knees extend.
- Feel a little release or stretch in the calf muscle—that’s fine.
- Hands on the wall, knees straight, thighs firm, press right into the right toes.
- Lift the heel with a straight knee.
It makes you feel tall as you rise toward the ceiling. Hands on the wall, shoulder height. Eyes open. If it’s a little wobbly, that’s fine. Perfection not required.
If you have a toe issue, return to this shape every other day until the toe restriction is resolved. This is how we resolve arthritis and regain fluid movement in the toes, feet, and ankles.
When the time is right, you lower and release and get on with your day.
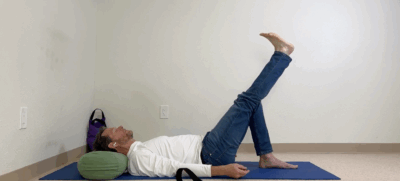
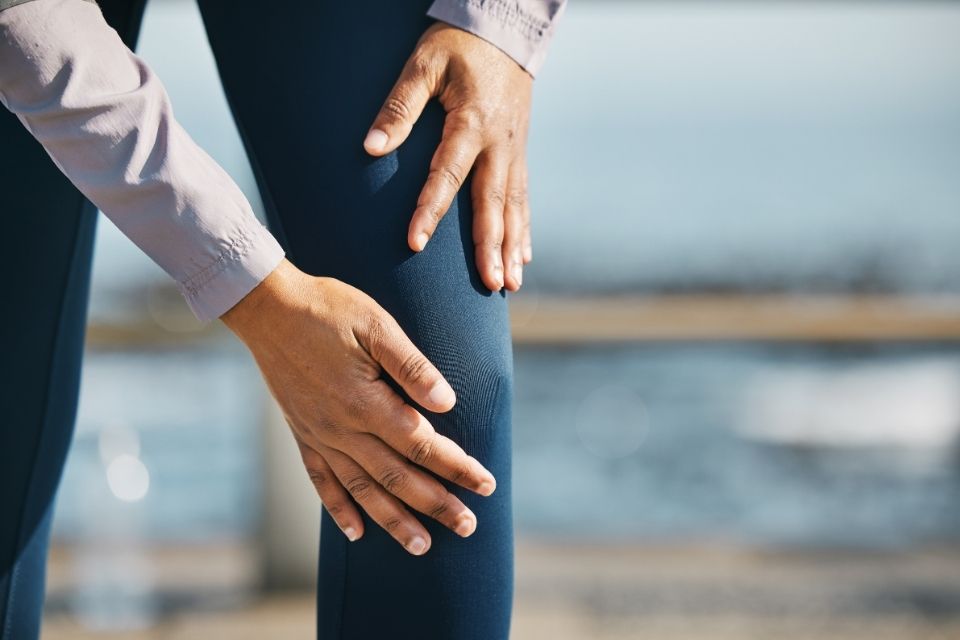
2. Knees – Flexion and Extension
If there is a knee issue—pain, sensation, restriction—how are you going to work with it?
Knee Flexion Practice:
You need a firm cushion.
- Come down to all fours, with the end of the bolster between your feet.
- Knees, lower legs, and feet are bolster-width apart and parallel.
- Slowly sink back.
If there is a strong knee restriction, you may not be able to go far. Just sink back a little bit. Feel into the sensation. Make sure you can sustain it.
Alternatively, add a second bolster, foam block, or cushion. But the goal is not to sit on the support quickly. Slow down.
Feel the restriction. Feel the pain. Stop. Count to 60. Be with it.
With time and practice, you’ll start to move closer to the block, resulting in added flexion at the knee. But here’s the point: you heal along the way. It might take 6 to 12 months to sit on the block—so be it. It’s practice with incredible dividends.
Knee Extension Practice:
- Put the block aside.
- Turn the bolster crosswise.
- Get in close to the wall. Lie back.
- Put your legs up the wall, head on the cushion.
The further you are from the wall, the more gravity comes down through your legs. This creates passive extension in your knees.
- Rest your hands at your sides.
- Stay for 1.5 to 5 minutes.
Then, try a little foot movement:
- Extend the left toe.
- Move the right heel up the wall.
- Firm the left thigh—active knee extension.
But don’t rush into it. Begin with passive first.
Hold it 1.5 to 2 minutes.
You are compressing the thigh, knee, ankle, and foot joints. When you release, all the lymph flows. Arthritis is just a toxic environment—you want to clean it up.
Then do the same on the other side.
- Flex the right ankle.
- Open the sole of the foot.
- Draw the toes toward you.
- Firm the knee.
When the time is right, release. Close your eyes. Peace begets peace. A relaxed mind encourages healing.
3. Hips – External Rotation and Mobility
Now, the last thing is that hip issue. A lot of limping comes from the hip.
Walking with a limp often means something deeper is happening at the joint level.
We have a lot of shapes for the hip as well. We’ll start with a prevalent one we do in Avita practice.
- Put a bolster crosswise, about three inches from the wall.
- Sit on the bolster, soles of the feet together.
- Sit right in the middle—front to back—and rest back on the wall.
Now your feet are two big open hands away from your pubic bone. This creates a square shape between your legs.
You are asking the hips to rotate externally—knees dropping toward the floor.
- Get the big toe base, little toe base, and center of each heel to touch.
- Press the feet together gently.
- Allow gravity to draw the knees down.
- Notice the sensation.
If there’s pain, try lifting your knees a bit. Let them drop slowly again.
using sandbags:
Sometimes the restriction is so substantial in the hips that gravity alone is not enough to effect a change. That’s where sandbags come in.
- Start placing sandbags close to the groin, or on the thighs or knees, depending on the leverage required to feel sensation.
- Slowly curve forward. Let the entire spine relax.
- Hands mat-width apart.
- Relax the face and jaw.
Stay 1.5 to 2 minutes. Slowly raise. Pause.
To heal, increase mobility, and genuinely improve the way you walk through life, set aside 20 minutes a day for your practice. Go slow and be consistent. Soon, you will develop the trust that you can mend your joints not by strengthening the muscles around them, but by thoughtfully giving them the pressure they love.
For visual guidance of the shapes and movements, watch the full video.