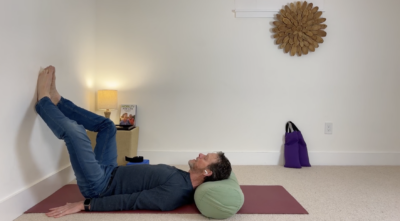
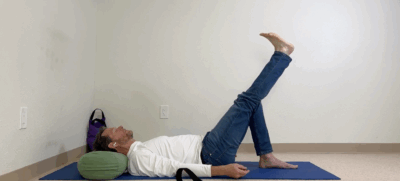
 Quad stretches are often seen as traditional stretching exercises, but today, we’re exploring more effective ways to release the quadriceps. In Avita Yoga, we do not take the approach that muscles stretch; instead, we focus on releasing them. In doing so, we simultaneously address the adjacent joints. Since you have a knee and hip on either side of the quadriceps, why not take an approach that restores the health and mobility of your joints while releasing the muscles? Let’s get started.
Using a Chair for Quad Release
Sitting in a chair, kick your shoes off and see if you can place the top of your foot, toenails down, on the floor. If that is doable, give it some time. Sink back and ensure it is sustainable.
- Relax back in the chair.
- Let your lumbar spine move toward the back of the chair.
- Observe how your knee, foot, and ankle feel. We are attempting to release the entire front side of your leg and foot and work through your knee.
You are asking the quadriceps to release. Always work with the sensation that shows up. You do not have an agenda about advancing the shape.
If this position is doable and the feedback is minimal, what’s next? Move your foot a little closer to your sit bones by placing a firm pillow under your foot. You might even be able to reach down and pull your heel up. However, you do not want to exert effort in the shape; instead, take a deep, passive approach.
If you have a bolster or any kind of firm cushion, use it to:
- Support your foot over the cushion, top of the foot down.
- Ensure your heel is pointing straight up toward the ceiling.
- Sit on the edge of the chair, this increases knee flexion and deepens the quadriceps release.
Sit back and relax. Let the shape work for you. One and a half to two minutes is the idea. That is how long it takes the nervous system, muscles, bones and joints to reorganize and remodel.
Understanding the Process
It’s not about appearance or performance here. You are not aiming for a certain look or alignment. Instead, listen to your internal feedback and resonate with the shape. Though it may seem simple, stay in the shape and give it time to work.
After one and a half to two minutes, gently release the shape and switch to the other side.
Advancing the release
If the shape feels doable and the sensation is minimal, you can move to the next step:
- Turn your bolster or cushion crosswise.
- Sit at the very edge of it with your legs outstretched in front of you.
- Lean to the side and slowly bring your foot around, knee bent and toes pointing behind you.
This movement alone can trigger spasms or strange sensations in your hip or musculature because you are moving into new range of motion. That does not make a cramp a bad thing; it just means you are in new territory. So, let’s not worry about it or avoid the cramping sensation. After all, you want resilient muscles, and you won’t get them by avoiding that kind of sensation.
Adjusting for Healing Sensation
If the sensation is too intense in the big toe, foot, knee, or hip, lean to the side. We don’t avoid spasms or joint pain because we want to bring those joints, fascial connections, and the nervous system along for the ride. But we do adjust the pressure for a sustainable healing sensation. This all requires some dedication, time, and practice, which will allow:
- The heel to come in closer.
- The weight becomes distributed equally between both sit bones, just as you do in the chair.
- Once you feel both sit bones evenly weighted on the bolster, begin curving your spine:
- Allow your lower back to move back.
- Draw your belly button in slightly.
- Bring your forehead toward your right knee.
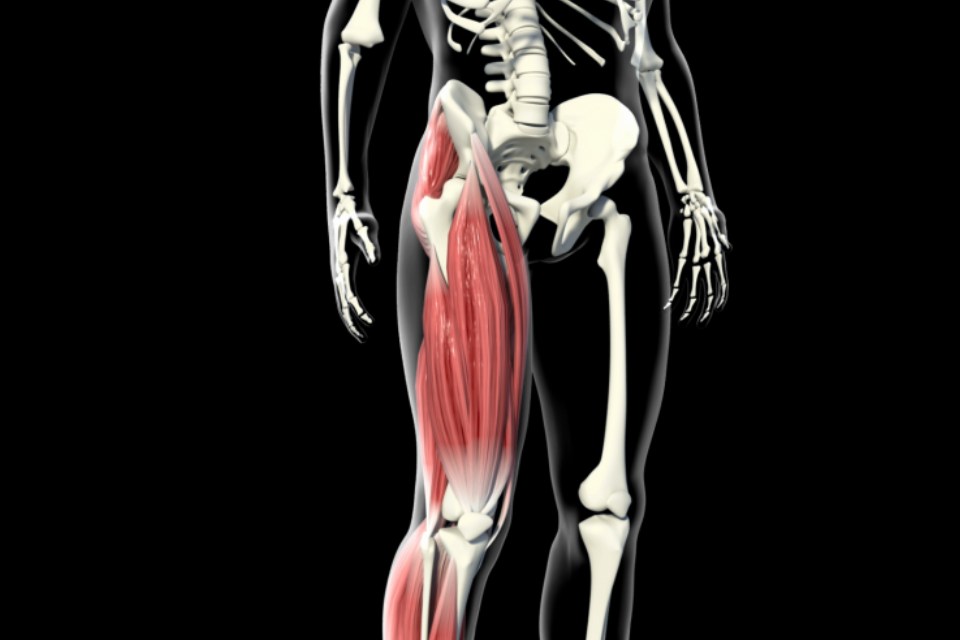
Now, you have flexion in the knee, plantar flexion in the foot and ankle, and flexion in the hip. The quadriceps must release to let the knee bend, and the knee must be able to bend to get the quadriceps to release. So, your tight quadriceps could result from a knee or hip restriction. That is why it is so important to address them simultaneously.
Exploring Sensations
While holding this version of the release, you may start to feel resistance in the back of the other straight-legged knee. This sensation is also welcome. Unwinding these restrictions helps improve flexion and extension, which go hand in hand.
After one and a half to two minutes, slowly release the position.
You need time in this position to allow the muscles to release, remodel, heal, and cleanse the joints. You need the time in the shape for the nervous system and the mind to wrap itself around the movement that you are asking. Everything must work together.
Transitioning Out of the Stretch
When the time is right:
- Raise yourself up slowly.
- Pause for a moment.
- Lean to one side and very slowly release your leg.
- Switch to the other side.
The Other Leg
With both legs straight:
- Lean to one side.
- Bend your knee with your toes pointing back.
- Respecting and knowing that the sensation will be different on this side–different leg, different history.
To create change, you must meet yourself where you are. With time and practice, progress happens bit by bit.
Flexion of the knee becomes increasingly inviting. These sensations become desirable because they are nurturing and healing, not just for muscles but also for bones and joints.
The guidance is often one and a half two minutes, but moment by moment, you have to adjust to make the shape very doable and sustainable. Reduce pressure when necessary, but do not add pressure if you don’t feel a sensation. Instead, give it time first.
For visual guidance on these movements, watch this video.
Conclusion
Incorporating these quad-release techniques can improve mobility, reduce tension, and support overall joint health. Unlike traditional quad stretches, this approach focuses on a more profound release, allowing muscles and joints to function more freely over time.